1
Visit ChatGPT in your browser
Go to chatgpt.com
2
Open Settings -> Apps
Click on your avatar in the lower left to open the menu and then choose Settings, and then select the Apps tab.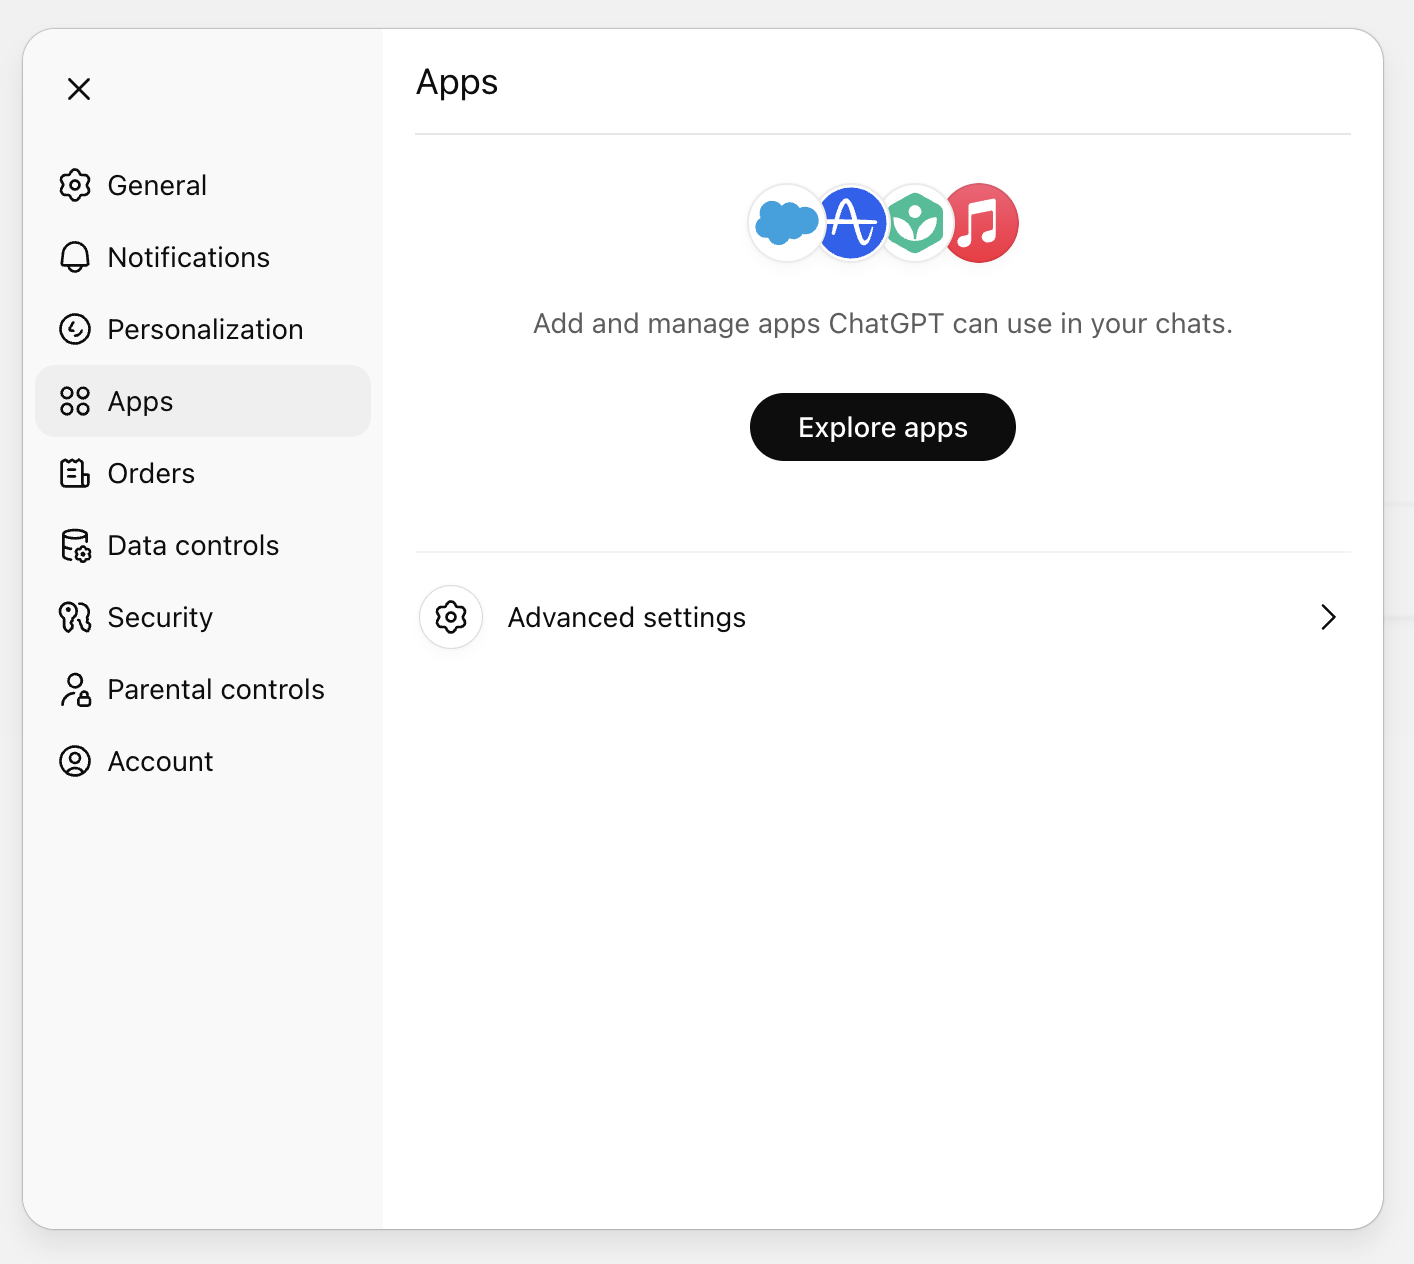
3
Turn on developer mode
In order to add a custom connector in GPT you’ll have to turn on developer mode. Click on advanced settings, and then select the
toggle for developer mode to enable it.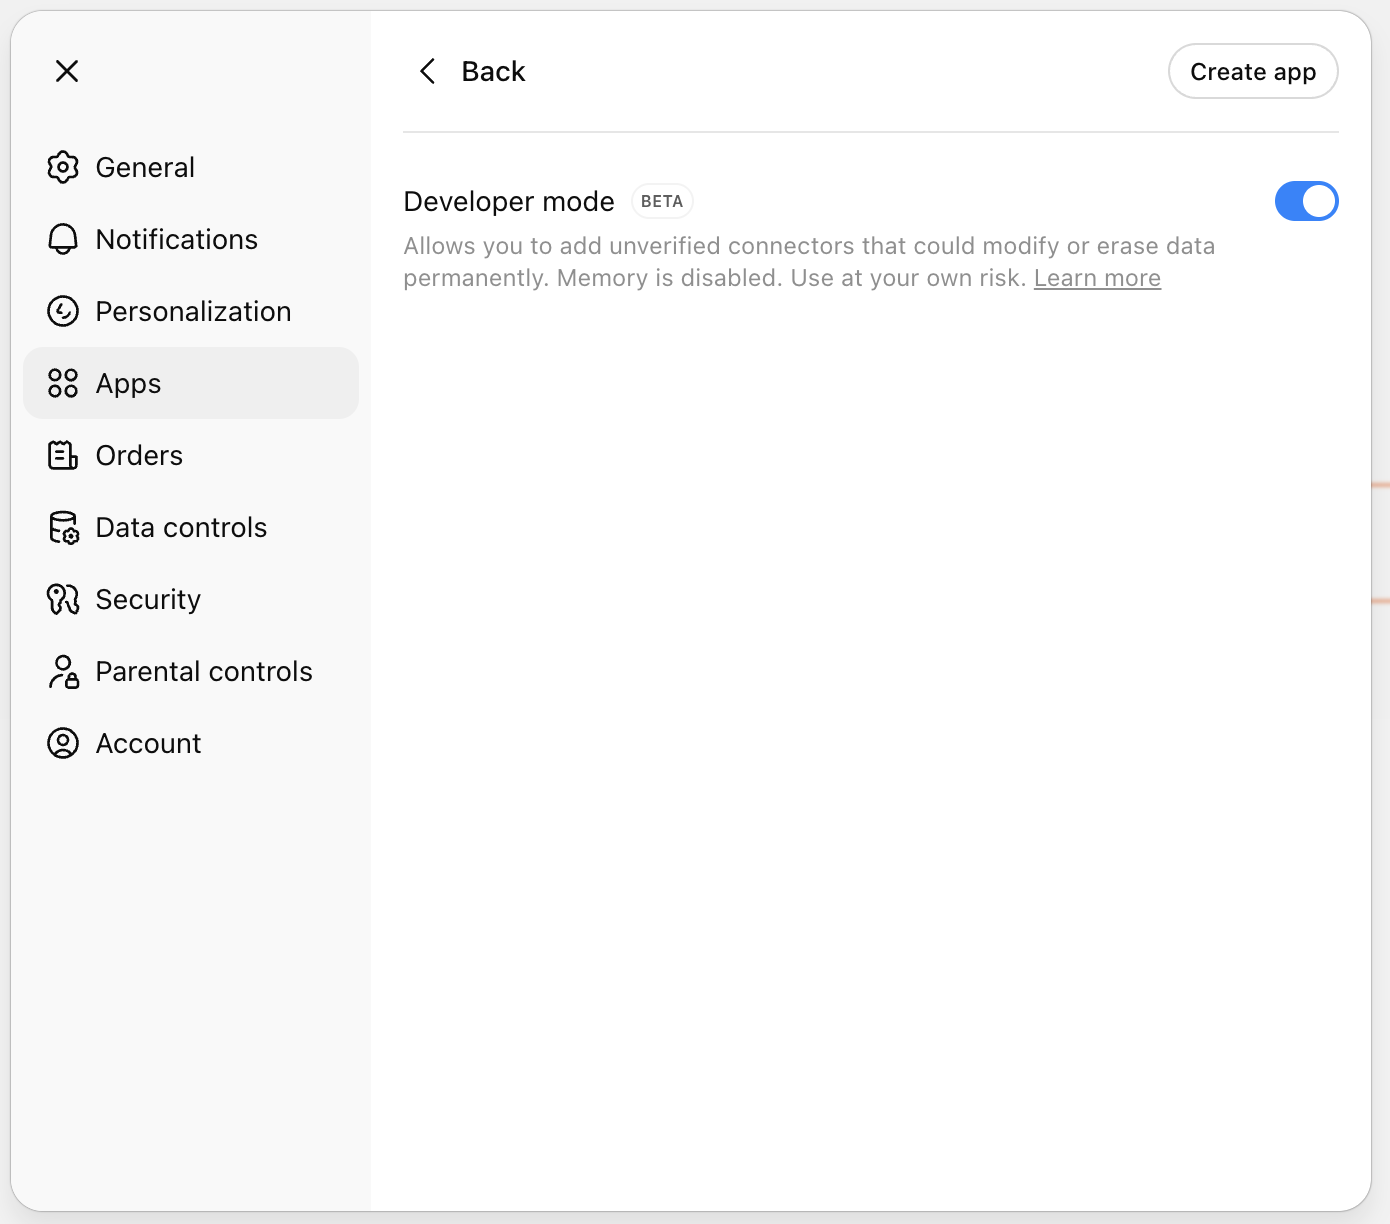
4
Create a custom app
Click the “Create app” button and enter the following details: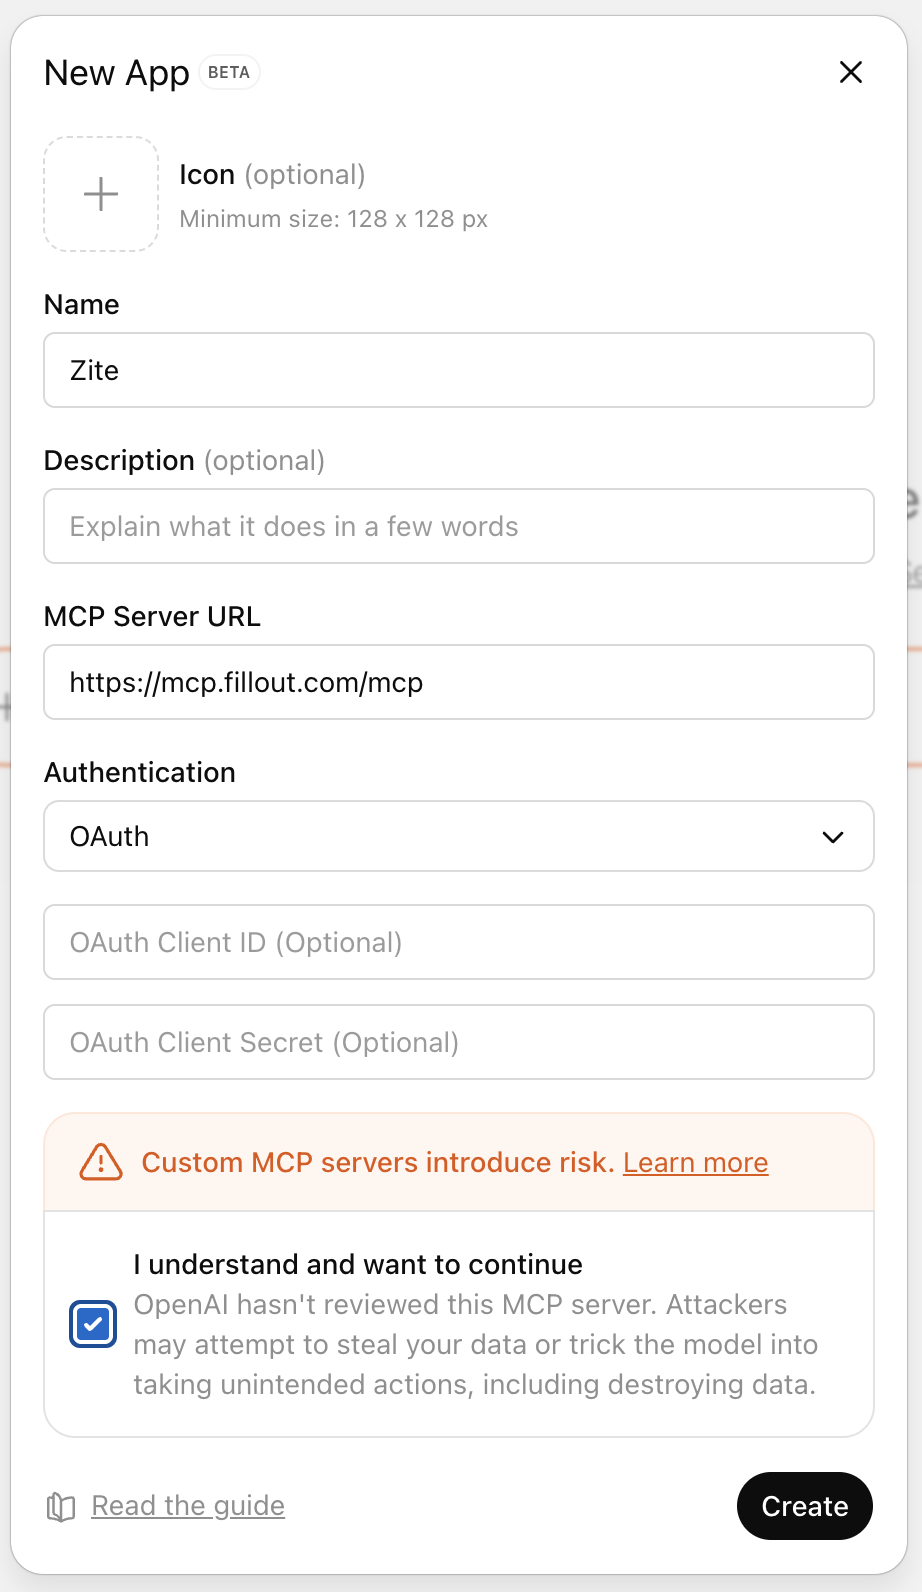
- Name: Zite
- MCP Server URL: https://mcp.fillout.com/mcp
- Authentication: OAuth
5
Authorize the connection
GPT will send you over to Zite with this authorization screen: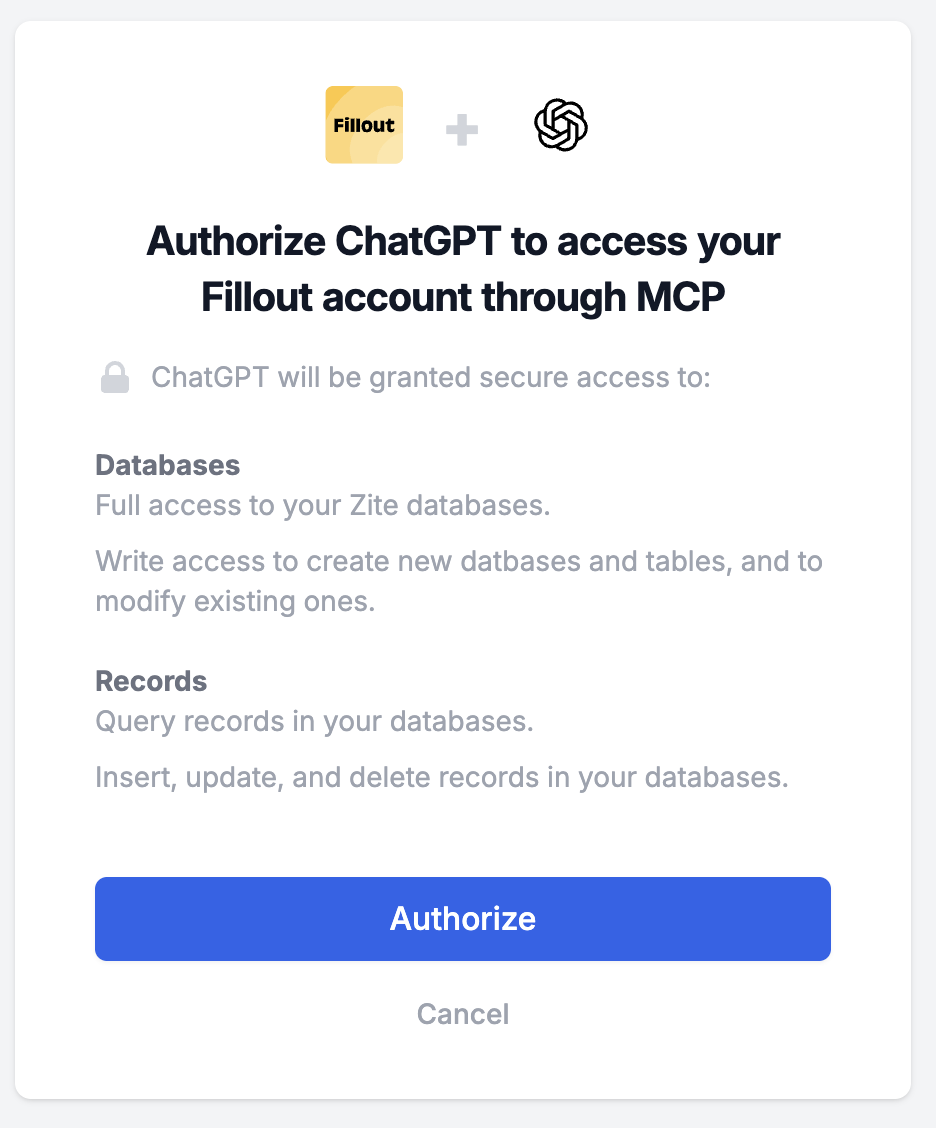
6
Start chatting
You’re all set. At this point you can head back to ChatGPT’s chat interface and start accessing your Zite data.